Introduction
As Head of laboratory at the Slovenian Computer History Museum I usually deal with getting 30 and 40 years old computers with heavy CRT monitors up and running, but sometimes my cable management and “technology whisperer” skills are called for when implementing an interactive digital art/content exhibition using modern tech.
The vast majority of work, both research, planning and building were first done when we hosted the French Institute’s digital exhibition titled “Escape: A Journey to the Heart of Digital Culture” in 2022.
Digital exhibitions are usually provided in a form of multimedia files, online content, materials to be printed and guidelines on how to present it in the physical world of an exhibition venue.
The exhibition in question offered more than 20 different creations from which the licencee could choose from. We decided to present 13 different works – some of them videos, some interactive art and also a smartphone app. The basic idea is to present them on various screens, some of them requiring interaction using a touchscreen or a keyboard & mouse combination.
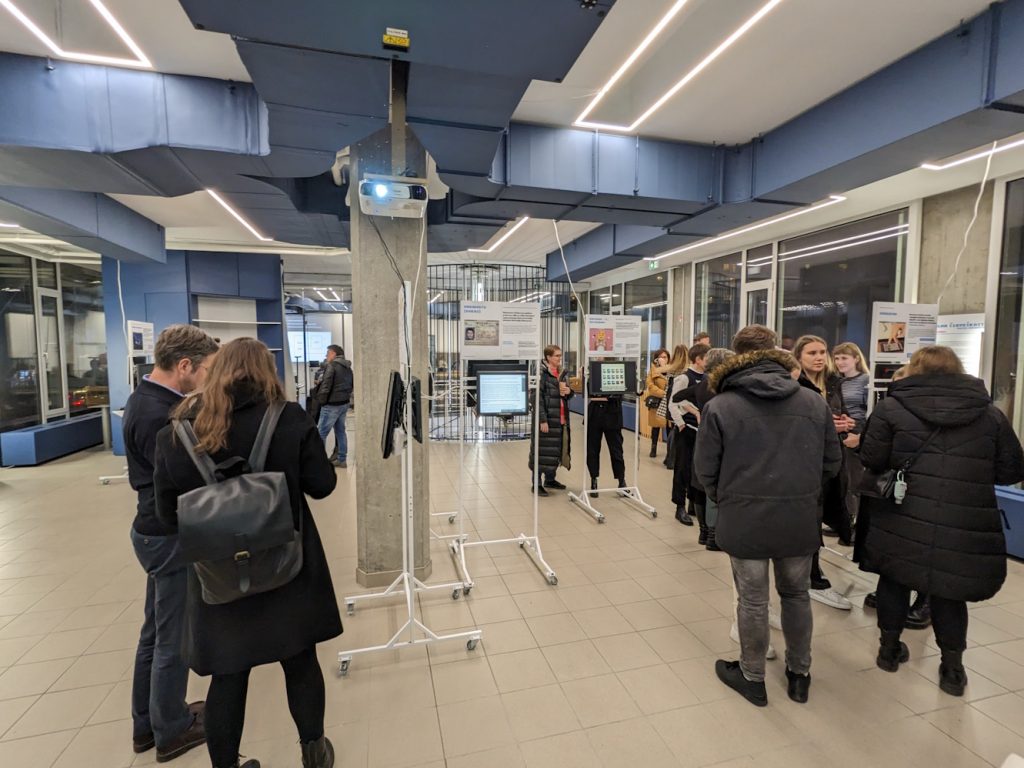
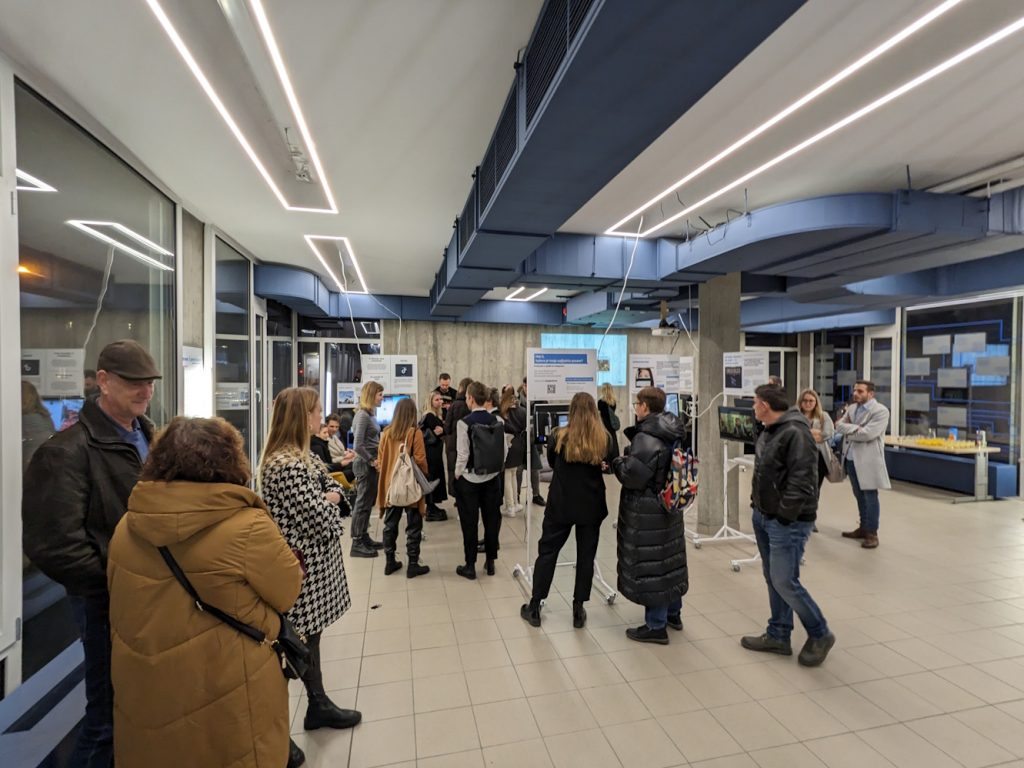
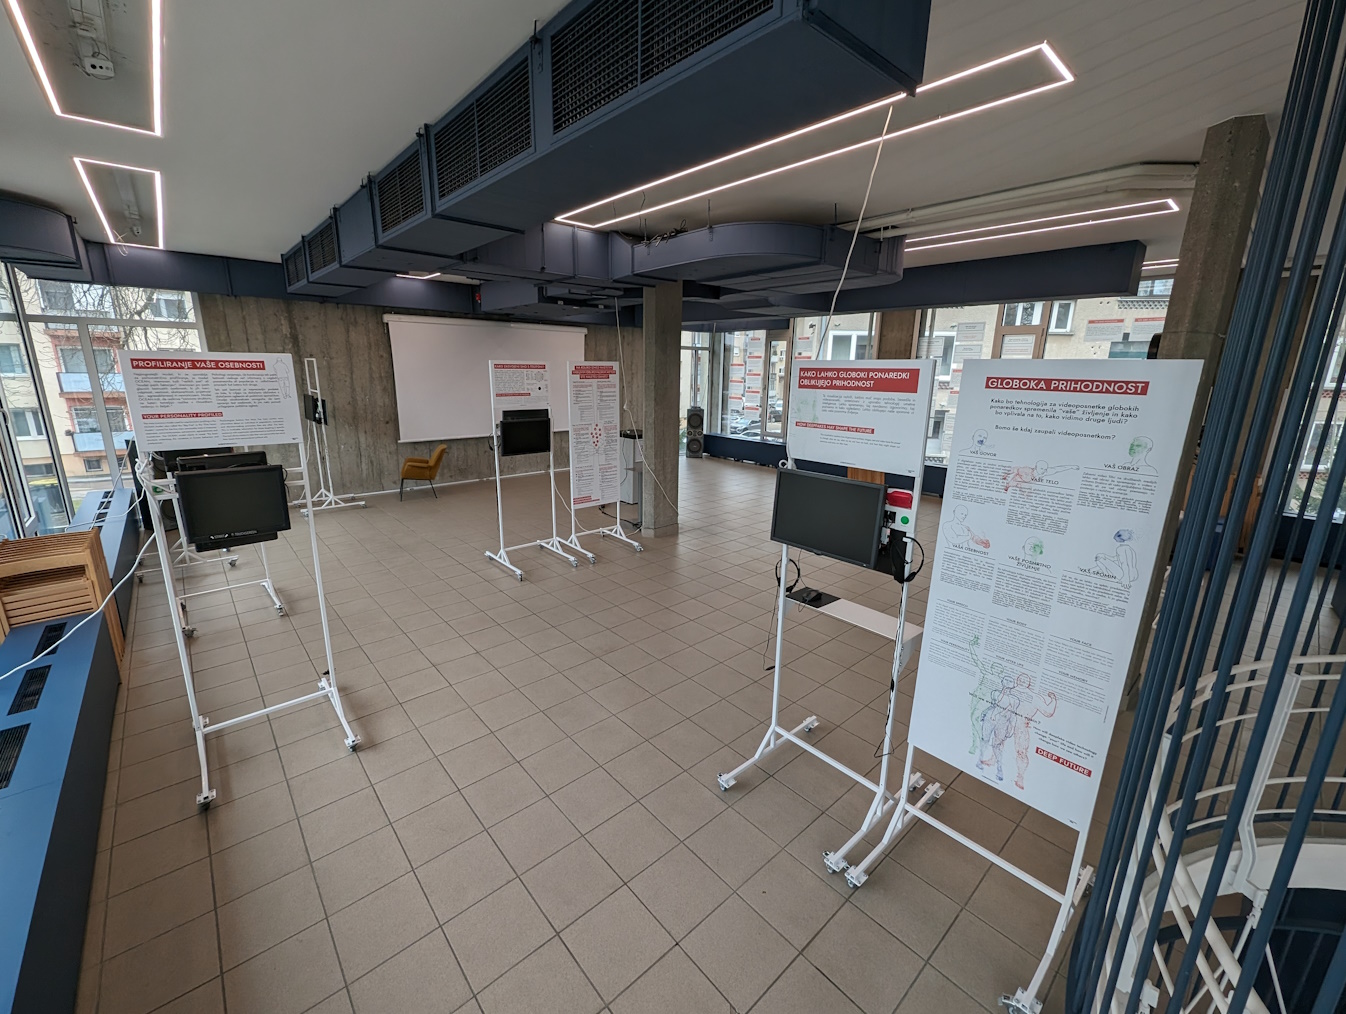
My colleague, director of the museum, Gaja Zornada, did most of the work determining what kind of furniture/screen mounts would work best for something that’s best experienced as a walk-through exhibition. The movable stands on wheels with multiple vertical and horizontal mounting points work really well for us. We can then attach screens, posters and even little shelves for keyboards and mice on them as needed. They were all designed to be doublesided so we can maximize their efficiency in the physical space and with ease of exhibtion maintenance and frequent repositioning of exhibition islands in mind, as the same floor hosts a lot of museum events as well and needs to be as versatile as possible. When they are in use though, one can engage the brakes on the wheels to fix them in place.
The user experience
The general user experience of our museum is interactive, hence users expect interaction (no glass display cases, as few “do not touch” signs as possible,…). The main volume of audience are schools – large groups – which are hard to superwise and support, so the exhibition content needs to be user-proofed for the best experience. We approached solving this in two ways:
1. We found this part lacking in guidelines for the hosted exhibitions and decided to develop it ourselves – visitors will expect a simple and reliable interaction with the exhibition pieces with the specifics of the technology out of sight in the background.
2. Besides that, we wanted to make sure that only the selected content could be experienced, meaning that the user interface must prevent users from “escaping” to the Desktop or in case of interactive website exhibits, accessing the general internet. It is a constant struggle with some types of visitors who like to explore a bit more than it is asked from them – sometimes they will come to the museum personnel and brag about it, in which case one should commend them that they managed to do it and ask them how – for future improvements.
The hardware
Being a non-profit organization with limited resources, we like to build using our supply of written-off and donated computer equipment – we have a good amount of older models of LCD screens (both 4:3 and widescreen), some PCs in a mini PC form factor and lots of Raspberry Pi single board computers ranging from model 3B, many 4Bs and even 2 bought and 2 donated models 5. Raspberries are so small they can be easily tucked away behind the screens and don’t need any special mounting. Most LCDs come with digital inputs such as DVI or HDMI and can be connected directly to the HDMI output of the Raspberry computers, but some of the older low-end LCDs only support VGA input in which case a small investment into HDMI-to-VGA active adapters must be made – they are clever little adapters which draw power from the HDMI bus so they are simple to install.
As for the usual routine when turning everything on for the opening hours: only the screens are usually turned off when not in use, the Raspberry Pies themselves are kept powered on as they consume only a few watts each.
Video playback
For video playback, some videos can just be played on a continuous loop – for those we went with Raspberry Pi 3Bs and the omxplayer software which, though now deprecated, turns out to be very reliable for continuous operation – more so than VLC. The command we used in /home/pi/.config/lxsession/LXDE-pi/autostart is:omxplayer --no-osd --loop /home/pi/Videos/video.mp4
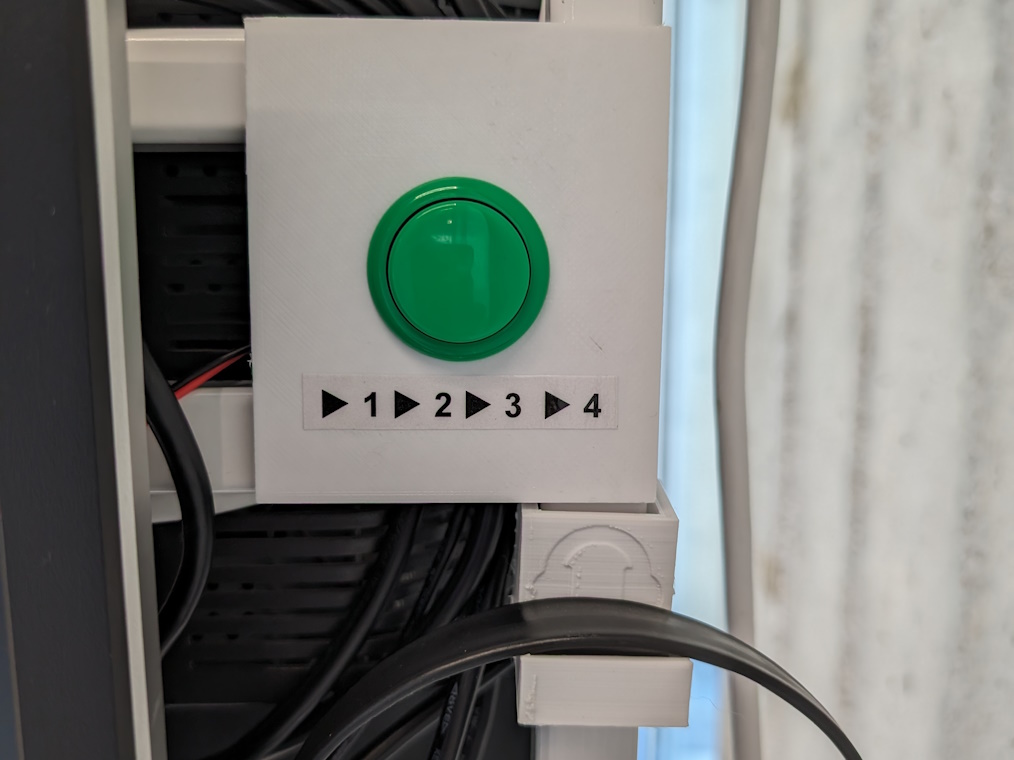
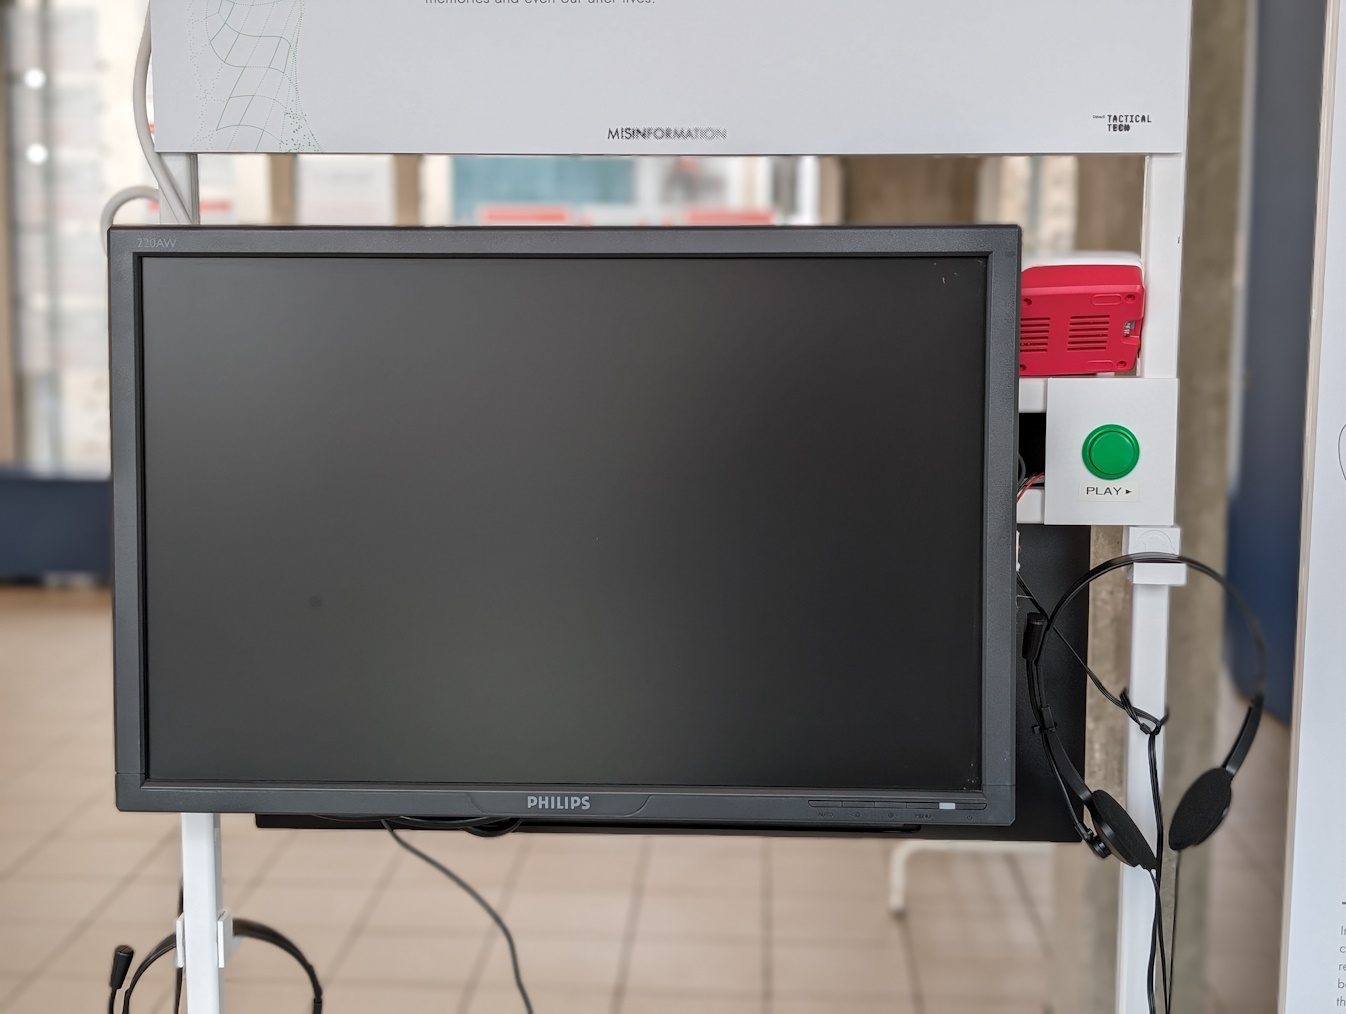
Some of the longer narrated videos don’t offer a good user experience if one can’t start watching from the beginning on demand. For those videos we leveraged the utterly simple GPIO expansion pins on the Raspberry Pi 4B to directly attach an arcade game-style button and tie it to the VLC player’s keyboard shortcut for repeating the previous item in the playlist (keyboard shortcut P) – the /boot/config.txt addition needed is:dtoverlay=gpio-key,gpio=3,active_low=1,gpio_pull=up,keycode=25
While we would prefer omxplayer for all video playback (some random .mp4 files seem to crash VLC after a few 10 repeats – even with the latest versions), it unfortunately doesn’t accept keyboard shortcuts when running in a headless configuration. The autostart command we used is:vlc --no-qt-privacy-ask --no-video-title -f -L /home/pi/Videos
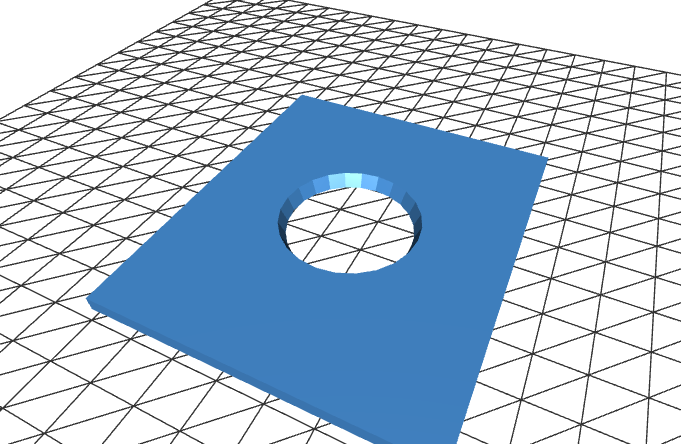
We 3D printed simple bevels for the buttons so they could be attached to our movable stands. We chose the color green for the buttons to invite people to press them and marked them with the label “PLAY ▶”.
In regards to audio, the only way for visitors to experience the content without distractions is to offer headsets. Since not everybody prefers the same audio volume, we chose such that offer a simple wheel to adjust it. For mounting them while not in use we 3D printed a simple hanger hook with an embossed headphones pictogram and mounted it below the play button.


Simple interactive content
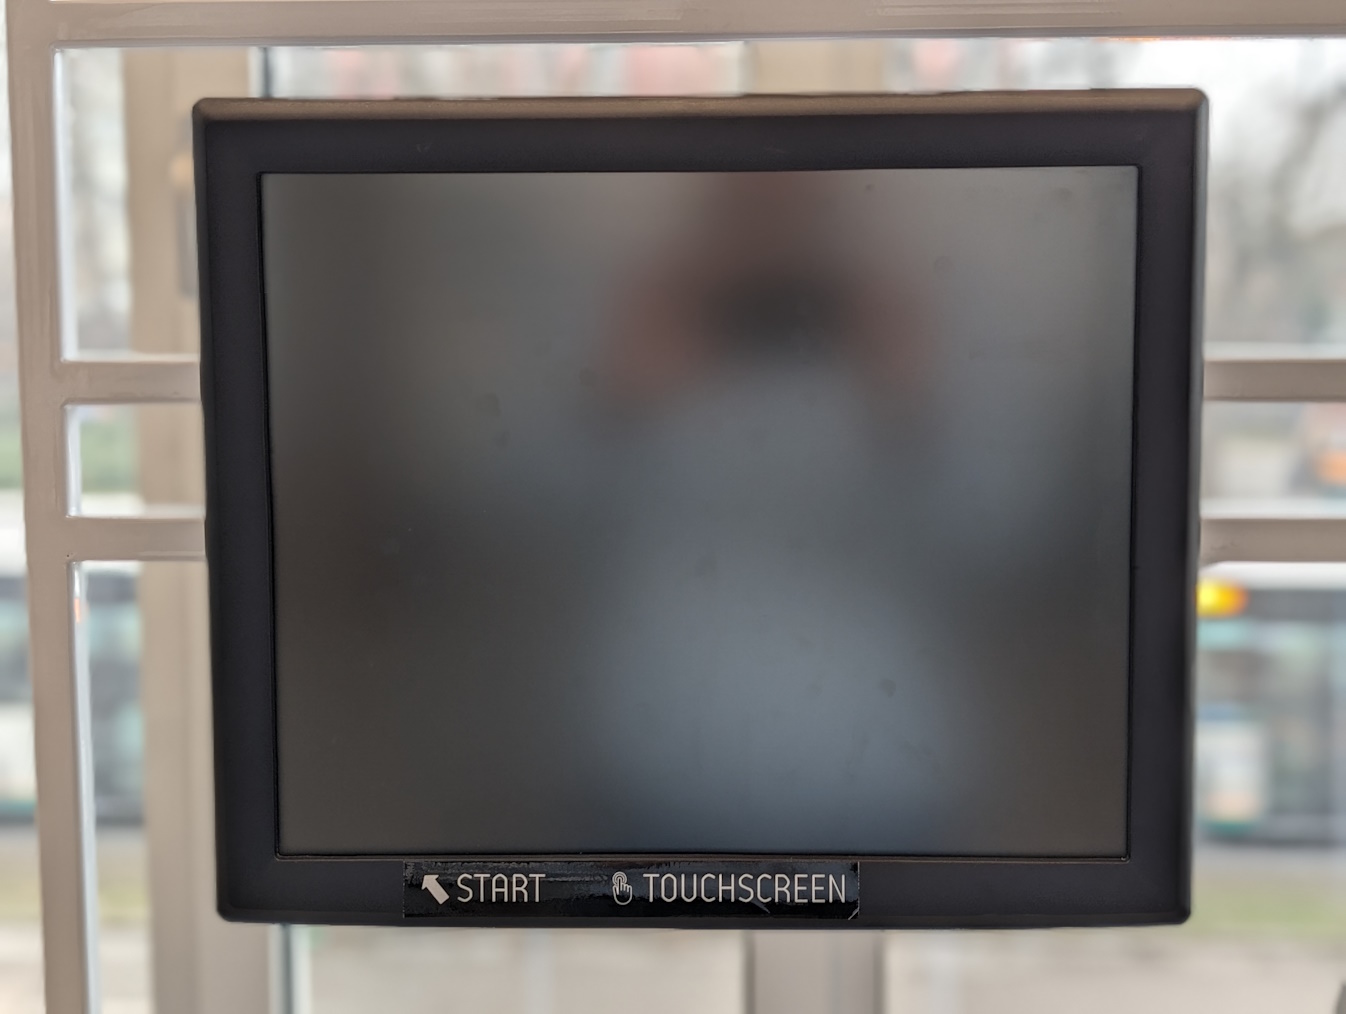
For the simplest interactive content, we used our supply of donated ELO 17’’ touchscreens. In the latest Raspberry Pi OS versions they register touches correctly out of the box, for some of the older versions a special fork of the xlibinput_calibrator tool was needed for calibration to flip the inverted X axis.
The ELO screens are single point resistive touchscreens which work best with relatively big UI elements – the default size of scrollbars for example is too small to be easily dragged around by a finger. For some of the locally hosted HTML content shown in a Chromium browser in Kiosk mode it was easy to override the CSS style of the scrollbars to enlarge them:
body::-webkit-scrollbar { width: 100px; }
body::-webkit-scrollbar-track {  background: #f1f1f1;}
body::-webkit-scrollbar-thumb {  background: #555;}
body::-webkit-scrollbar-button:single-button:vertical:decrement {   height: 100px;  width: 0px;  background-position: center 20px;  background-image: url("data:image/svg+xml;utf8,<svg   xmlns='http://www.w3.org/2000/svg' width='100' height='100' style='background-color: rgb(136,136,136)' fill='rgb(241, 241, 241)'><polygon points='50,00 0,50 100,50'/></svg>");}
body::-webkit-scrollbar-button:single-button:vertical:increment {   height: 100px;  width: 0px;  background-position: center 30px;  background-image: url("data:image/svg+xml;utf8,<svg   xmlns='http://www.w3.org/2000/svg' width='100' height='100' style='background-color: rgb(136,136,136)' fill='rgb(241, 241, 241)'><polygon points='00,00 50,50 100,00'/></svg>");}
Note that this code snippet and all that follow on this page are given by us to the public domain so you can freely use them as you wish.
And to disable text selection on screen if one drags the finger around it’s as easy as body { user-select: none; }
In general, I can’t recommend developing any simple interactive content in the form of a HTML page enough – no need to actually develop an UI program for such things and the Kiosk mode command line switch in browsers is usually enough to just focus on the page canvas.
Interactive websites
Here’s the greatest challenge – how does one present an exhibit that is hosted online in a way that directs the focus of the visitors to the exhibited content and the exhibited content only, without the possibility of someone wandering away to the internet and possibly leaving the screen showing some questionable content for the next visitor to encounter?
Having been present and noted how visitors interact when presented with such content it is clear just having a browser window open with the website is just asking for trouble. And using simple Chrome extensions such as BlockSite in whitelist mode is not sufficient as those can (and will!) be easily disabled by the more creative visitors (a better solution is a locally installed Pi-hole instance which can be set to whitelist mode and only allow certain (sub)domains). Additionally, some UI elements such as scrollbars and buttons might need to be enlarged so they can be touched more easily on our ELO touchscreens while the text font size might be just fine by default and thus a general zoom setting might not cut it.
Also of note is that if you plan on running Chrome/Chromium in standard (ie. non-Kiosk) mode with Desktop and menus exposed, by default Raspberry Pi runs the sudo command without asking for the password (which means visitors can change all systems settings and even install additional software packages!) so you really should follow the instructions found online for the current Raspberry Pi OS on how to always require password for the sudo command!
For this, I turned to the Tampermonkey browser extension, a followup to the Greasemonkey extension that allows “user scripts” to be developed and executed on top of the loaded websites to alter their appearance or even behaviour. Note that all Chrome/Chromium extensions get updated automatically and by default Tampermonkey will show a update changelog popup when that happens – to disable it, switch its “Config mode” to “Advanced” and under “Appearance” set “Show TM update notification” to “Disabled”.
Here’s a basic user script that covers most of our needs:
// ==UserScript==
// @name Museum touchscreen tweaks
// @namespace http://tampermonkey.net/
// @version 0.1
// @description UI fixes and prevent browsing outside the limit
// @author You
// @include *
// @icon https://www.google.com/s2/favicons?sz=64&domain=tampermonkey.net
// @grant GM_addStyle
// ==/UserScript==
(function() {
'use strict';
GM_addStyle("body { user-select: none; }");
GM_addStyle("body::-webkit-scrollbar { width: 70px; }");
GM_addStyle("body::-webkit-scrollbar-track { background: #f1f1f1;}");
GM_addStyle("body::-webkit-scrollbar-thumb { background: #555;}");
GM_addStyle("body::-webkit-scrollbar-button:single-button:vertical:decrement { height: 70px; width: 0px; background-position: center 20px; background-image: url(\"data:image/svg+xml;utf8,<svg xmlns='http://www.w3.org/2000/svg' width='70' height='70' style='background-color: rgb(136,136,136)' fill='rgb(241, 241, 241)'><polygon points='35,00 0,35 70,35'/></svg>\");}");
GM_addStyle("body::-webkit-scrollbar-button:single-button:vertical:increment { height: 70px; width: 0px; background-position: center 20px; background-image: url(\"data:image/svg+xml;utf8,<svg xmlns='http://www.w3.org/2000/svg' width='70' height='70' style='background-color: rgb(136,136,136)' fill='rgb(241, 241, 241)'><polygon points='00,00 35,35 70,00'/></svg>\");}");
GM_addStyle("div::-webkit-scrollbar { width: 70px; }");
GM_addStyle("div::-webkit-scrollbar-track { background: #f1f1f1;}");
GM_addStyle("div::-webkit-scrollbar-thumb { background: #555;}");
GM_addStyle("div::-webkit-scrollbar-button:single-button:vertical:decrement { height: 70px; width: 0px; background-position: center 20px; background-image: url(\"data:image/svg+xml;utf8,<svg xmlns='http://www.w3.org/2000/svg' width='70' height='70' style='background-color: rgb(136,136,136)' fill='rgb(241, 241, 241)'><polygon points='35,00 0,35 70,35'/></svg>\");}");
GM_addStyle("div::-webkit-scrollbar-button:single-button:vertical:increment { height: 70px; width: 0px; background-position: center 20px; background-image: url(\"data:image/svg+xml;utf8,<svg xmlns='http://www.w3.org/2000/svg' width='70' height='70' style='background-color: rgb(136,136,136)' fill='rgb(241, 241, 241)'><polygon points='00,00 35,35 70,00'/></svg>\");}");
var buttons = document.createElement("div");
buttons.innerHTML = '<div style="left: 0px;color: #ffffff;position: fixed;bottom: 0px;margin: 0px;padding: 10px;background-color: #555;font-size: 2em;">' +
'<a href="https://interactivesite.org/sl/home/" style="color: #ffffff;text-decoration: none;">' +
'<span style="border: 1px solid #ffffff;"> Slovenščina </span></a> ' +
'<a href="https://interactivesite.org/en/home/" style="color: #ffffff;text-decoration: none;">' +
'<span style="border: 1px solid #ffffff;"> English </span></a> ' +
'</div>';
document.body.appendChild(buttons);
setInterval(function() {
var linkList = document.querySelectorAll("a");
Array.prototype.forEach.call(linkList, function(link) {
link.target = "_self";
if (!link.hostname.includes("interactivesite.org") && !link.href.includes("javascript:alert")) {
link.href = 'javascript:alert("This external link can\'t be opened on this screen, please open it on your own device:\\nTe zunanje povezave ne morete odpreti na tem zaslonu, prosimo, odprite jo na svoji napravi:\\n\\n' + link.href + '");';
}
});
}, 500);
})();
What this script does is:
- Prevents text selection
- Makes the scrollbars of the page and any scrollable <div>s larger
- Adds a static overlay in the bottom left corner with language selection buttons
- Changes any links to outside websites to a dialog popup explaining why the action was prevented
Did you try turning it off and on again?
Sometimes the video player or browser software will freeze or get into a state where the interactive exhibit is not usable. Usually the Wi-Fi connection to a private hidden SSID separate from the museum guest Wi-Fi will still work and we can give the person on duty a simple web-based interface to remotely reboot such a machine without having to fiddle around with the power cable. The code for this is really simple if we use PHP:
<script type="text/javascript">
function reboot(url) {
  if (confirm('Are you sure you want to reboot this device?')) {
    var xhr = new XMLHttpRequest(); xhr.open('GET', url); xhr.onload = function() {}; xhr.send();
  }
  return false;
}
</script>

<?php
if (isset($_GET['reboot'])) {
  $conn = ssh2_connect($_GET['reboot'], 22);
  ssh2_auth_password($conn, 'pi', 'password');
  ssh2_exec($conn, 'sudo reboot');
  exit;
}

$devices = array("raspberry1" => "192.168.1.10", "raspberry2" => "192.168.1.11", "raspberry3" => "192.168.1.12");
ksort($devices);

foreach ($devices as $device => $ip) {
  echo "<b><a href='#' onclick='return reboot(\"?reboot={$ip}\")'>{$device}</a></b>, \n";
}
The only trick is to properly configure the SSH server on newser Raspberry Pi OS versions to work with the (at the time of writing this article) outdated SSH2 client for PHP by adding the following two lines to /etc/ssh/sshd_config:
HostKeyAlgorithms +ssh-rsa
PubkeyAcceptedKeyTypes +ssh-rsa
And, if you disabled sudo without password, make sure to enable the reboot command to be used without it in the sudoers file!
Conclusion
We report that both the overall look and feel of the interactive exhibits and the improved user experience developed by us work well. The visitors can focus on the presented content without the distractions and always have the ability to experience it from the beginning to the end.
The methods we used to make this happen are:
- Due to the space being multi-purpose, put everything on movable stands
- Put the technology in the background and focus on the exhibit content: consider the user experience and remove any possibility for distractions
- Make it resilient to big unsupervised groups of visitors
- Make it so the maintenance is as simple as possible, including the ease of turning them on and off and providing a simple web-based interface for remote reboot
We continue collecting feedback and monitoring the way visitors interact with the exhibits to further improve things as necessary. It has proven itself for 3 exhibitions now already and as only small improvements and adjustments are needed if any at all, we are confident it will serve us well also for the future ones.
Marko Štamcar